How to Fix Gaps in Floating Floors: A Comprehensive Guide
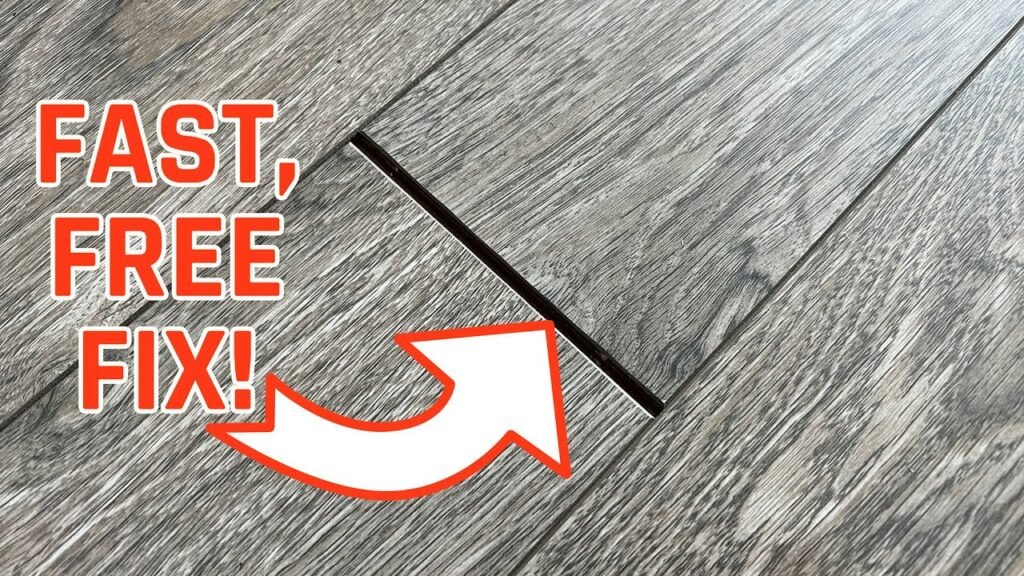
If you’ve got a floating floor of any sort, whether that’s laminate, LVP, or some other material with interlocking planks, you might have noticed unsightly gaps that arise, especially in the winter when things contract. In this guide, I’ll show you two methods to fix these gaps. The first method is budget-friendly, costing just a few bucks, while the second is most likely free, using items you already have around the house.
Understanding the Issue: End-to-End Gaps
First, let’s tackle end-to-end gaps. I’ve noticed a gap here that’s been growing as the weather’s gotten colder, but it’s a pretty easy fix. Follow along as I demonstrate the first method.
Method 1: Using Double-Sided Tape and a 2×4
For this method, you’ll need a 2×4 cut to about 20 inches and sanded with 220 grit sandpaper for a smooth surface. You’ll also need a hammer and some double-sided tape. I picked up a well-reviewed tape called Easy Life Go on Amazon for about $11.
Start by identifying which planks need to move. It might be more practical to move them in one direction over another. In my case, I have a banister limiting movement in one direction, so I need to move the plank towards the other.
Peel off the tape and adhere it to one of the planks. Before doing so, vacuum out the gap to remove any debris. With the tape in place, use the hammer to gently knock the plank over, closing the gap. Be cautious not to overdo it, as this could create a peak.
Once you close one gap, you’ll create another at the end of the plank row, so continue this process for each subsequent gap. The double-sided tape should stick well, but a chisel or putty spatula can help remove it when necessary. You might even be able to reuse the tape down the line.
Reusing Double-Sided Tape
The next day, I tried something the tape manufacturer suggested: rinsing the tape in the sink to remove debris and letting it air dry overnight. By morning, the tape was clean and sticky again, ready for reuse. This feature is quite unique and makes the tape even more cost-effective.
Method 2: Using Household Items
The second method involves using items you probably already have at home. You’ll need the same 2×4 sanded to 220 grit, painter’s tape, a bit of super glue (liquid form, not gel), a sponge, and a spray bottle of water. You’ll also need a hammer and chisel.
Apply painter’s tape to the 2×4, ensuring overlap to prevent glue from seeping through. Tear back the tape if necessary to avoid filling the gap with it. Next, apply super glue in a zigzag pattern on the 2×4, and activate it with water. The water helps the glue cure faster.
Press the 2×4 onto the plank, kneeling down for weight to form a good bond. After a few seconds, use the hammer to tap the plank into place, closing the gap. The bond should hold well enough to allow the tape to be reused, similar to the double-sided tape method.
Conclusion
Both methods offer effective solutions to fix gaps in floating floors, with minimal cost. The double-sided tape method is straightforward and effective, while the super glue and tape method utilizes common household items. Hopefully, you found these techniques helpful in maintaining your flooring.
If you’re interested in learning more about the uses of painter’s tape, check out this video:
Watch Now: How to Repair Grout DIY | Quick Fix
“`
Read More: How to Install Vinyl Plank Flooring as a Beginner
